Main Content
Making a flag using the Actions Panel
In today's free Photoshop tutorial, we will be exploring the use of the Actions Panel (AP) by making a flag-creation sequence. The AP acts like a macro: you do something once, and then it can be played over and over again. To open the AP, press ALT + F9 or select 'Actions' from the window menu. Once open, it will look something like this:
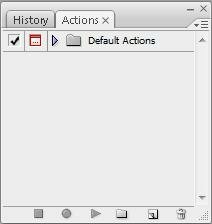
The folder called 'Default Actions' contains, yes, you've got it, the default actions that come with the Photoshop program. If you have not done so already, press the triangle to the left of the name, and have a look at these actions. Now, close the default actions list, and create your own set, by pressing the fourth icon, which looks like a folder, and give it a suitable name.
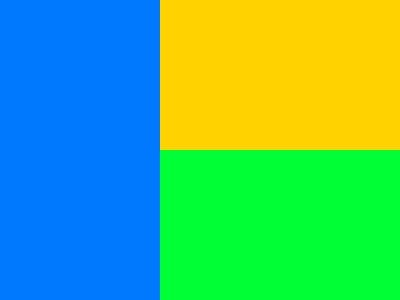
Now, create a simple flag design in a new 600 by 800 pixel document. Here is mine:
Create a new action by pressing the 'Create New Action' button, which is just right of the new set button, and looks like the new layer button. Give it a name, and ensure that that Set : My Actions, or whatever you called it. You can, if you really want, set a function ( or 'hot') key. Press the Record button. Photoshop is now recording your actions.
To create the flag effect:Ensure all used layers are merged, and press CTRL + A to select all. Now, press CTRL + T, and make the transform slightly smaller in all directions, and centre the transform, both vertically and horizontally. Apply the transformation, and deselect. Then, select Filter > Distort > Wave. Use these settings:
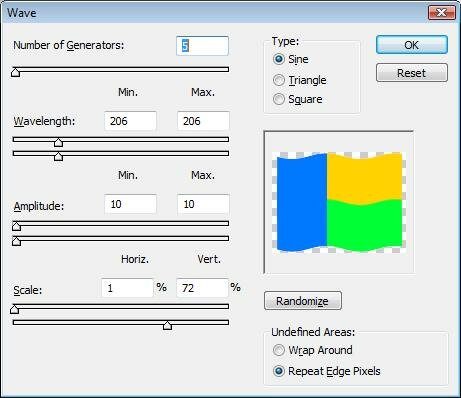
You may wish to reduce the wavelength, depending on what looks best, for some reason it came out differently when I tried this out, and you may need to reduce the amplitude accordingly to fit it on the canvas. Click OK. Right-click the layer, and select Blending Options (if this option is not available, ensure the layer is not the background layer, cut and paste to a new one if necessary). Use the default drop shadow, and use these gradient overlay settings:
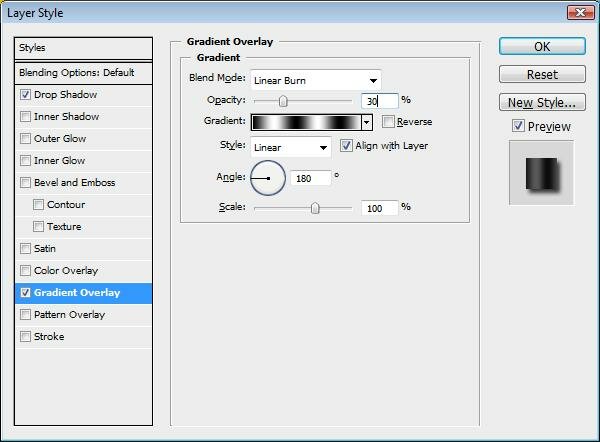
That gradient is an alternating black/white stripe, every 20%, starting from black at 20% and finishing on white at 100%. Reverse is you think it looks better; if, after applying it, the stripes effect the whole layer, not just the flag, you need to delete the background from the flag layer.
Press the square stop button, and you are done. The action can be played by clicking on its name, and pressing play (the triangular button). Vefore doing so, you will will need to have a new layer open, where you have drawn your new (second) flag design (try it and see!).
That's all,
James