Main Content
Making bars
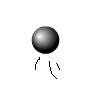
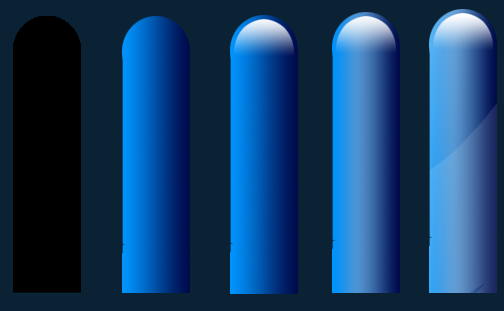
Hello and welcome. In this free Photoshop tutorial, we will be making the cool bars (designed for bar charts, etc) that you can see on the far right of the image below. Each bar on this image represents how your bar should look after each stage, in case you're worried.
Stage 1
First, create a new document, and start to create the basic bar shape. To do this, use the rectangular marquee tool, and drag to create a tall, think rectangle. Select the elliptical marquee tool, and select add to selection. To the rectangle, add a circle (hold down ALT on the elliptical marquee tool to ensure a perfect circle) on the top. It may be useful to use a grid for this, which can be set in Preferences, and accessed by pressing CTRL + '. Once you have the selection, fill with a colour.
Stage 2
On a new layer, fill a gradient from #0095ff on the left to #00094a on the right. Click and drag from the left of the bar to the right, while holding SHIFT to keep it horizontal. Release, and press CTRL + G to make it a clipping layer.
Stage 3
CTRL + click the layer thumbnail to select it. Use Select > Modify > Contract.. to contract the selection by a few pixels. Create a new layer, and switch foreground colour to white. Select the gradient tool, and open up the gradient window. Use the default gradient, from foreground colour (white) to transparent. Click and drag, holding SHIFT, from the top of the circle to where the circle would end (if it hadn't become part of the rectangle).
Stage 4
Now create this gradient:
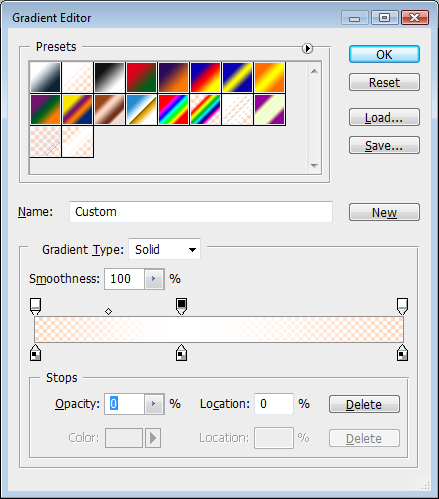
And apply in the same way as you did in stage 2. As in stage 2, make it a clipping mask layer. Looking better already I think.
Stage 5
Finish off by adding a new layer, also a clipping mask, at Opacity of 10%, and fill with white. Mask it to create a wide, sweeping shape across the middle of the stack. Use the first image for more guidance.
Done!
nb. You may have to vary the colour scheme to suit your choice of background. Also, reducing the Opacity of the layer created in stage 2 for the other bars makes your chosen bar stand out (if that represents your brand, for example).
Thanks for reading this,
James.