Main Content
Using the Curves Panel to create Dramatic Photos
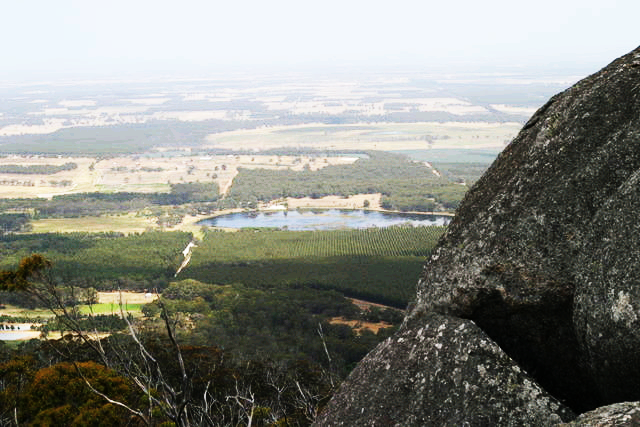
Today, I am going to show you a very simple way to turn ordinary photos of landscapes into dramatic pictures using the 'Curves' screen in Adobe CS3 (and to a more limited extent older versons). It will also allow many different uses of this panel. This tutorial takes about 10 minutes to learn, and seconds to use. First you will need a simple start picture, here is mine:
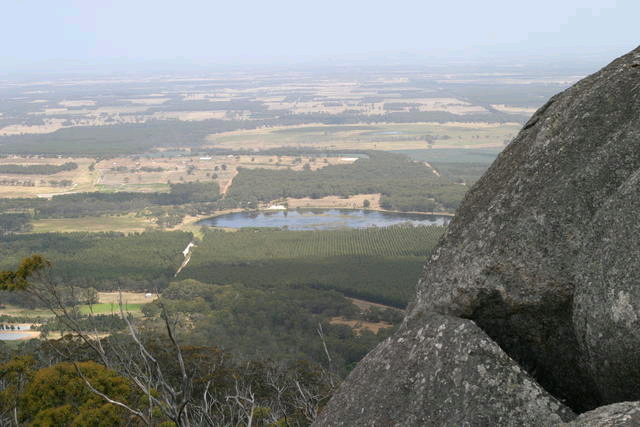
You can download it from the lnik below, but of course you could use one of yours:
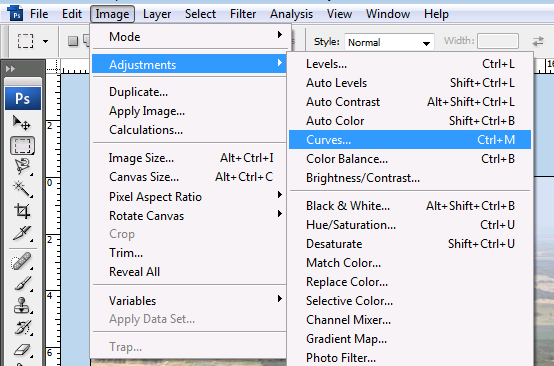
Now select the "Image Menu > Adjustments > Curves" to open the Curves Screen, as can be seen in this screenshot:
The screen is mainly made up of a square, with a scale going from black in the bottom left to white in the bottom right (these are the darkness in your picture) and another going from the bottom left to top left, which are the those colours along the bottom will be changed to. To create an instant dramatic effect, turn the straight line to a curve. To do this, click near the line and drag that point out to where they are shown in the screenshot. Problematic? Email us using the contact form.
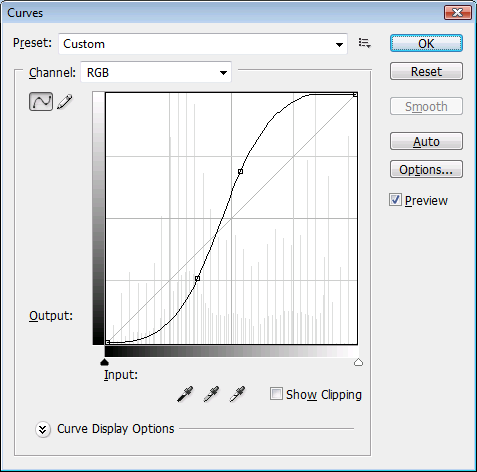
Once, you click 'OK', it should turn the misty photo into this:
It works on a lot of different types of photos, to add that professional look.
See you again!
James.