Main Content
Make an Icon using the Mask Technique
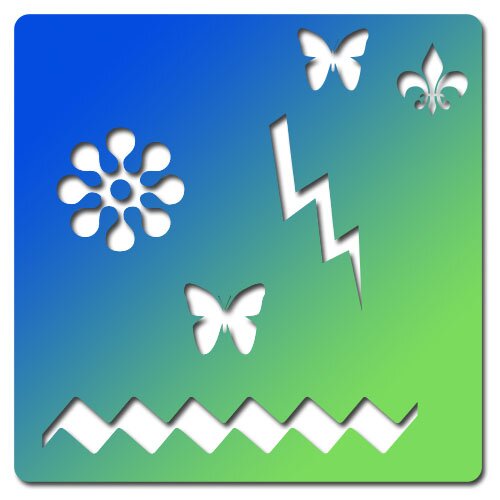
Today we will be making something like this:
First, make new file the size you want, I suggest 500px by 500px. Then draw into it a rounded rectangle, with corner radius 15px (this can be altered where it says 'Radius:' on the top menu), this can be any colour, it is only going to act as a guide. You should end up with something like this:

Background Layer
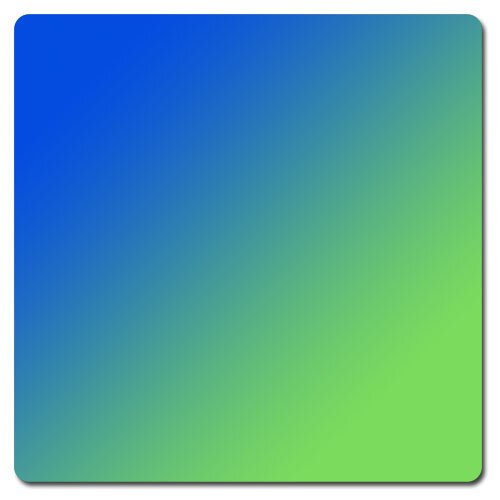
If you hold CTRL (Command on Macs) and click on layer icon in the layers panel, it should select your rectangle. Now make a new layer, and fill the area with a bright colour using the gradient fill tool.You can now delete the orignial layer. I suggest you add a drop shadow by double clicking on the layer, and ticking the 'Drop Shadow' box. Default settings will be fine. Deselect, and you should now have this:
Stencil Layer
Make a new layer, and build up a picture on a layer or layers using the Pen tool(s), another option is to use the defult shapes, you can do this by selecting the last option in the menu of pen tools, and picking a shape from the list. Now, merge all these layers into one. Here is my example:
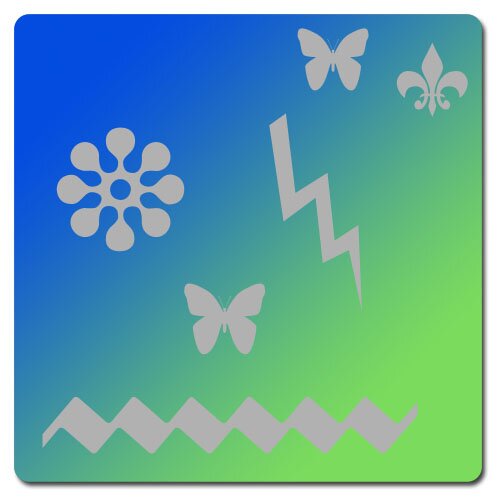
Then select the background layer, and press the Mask button (the white circle in the grey rectangle, below the layers panel).Then CTRL + Click on the thumbnail in the layers panel to select the boundries again, then click the little eye on the layers panel to hide the stencil layer. Now, brush the whole selection with a soft (i.e. put the Hardness Slider on the brush detail panel down to less than 20%) brush to wipe out all the stencil. You can see what I finished with at the beginning of the tutorial.
Alternatives
To use text instead of the pen tool, make a new text layer the size required, and type the text (stylized fonts work well), then select the background layer, and make a mask. Then CTRL+Click the layer icon, and then hide the layer by clicking the eye. Now brush out the selected area, as shown in the main tutorial. This is my example:
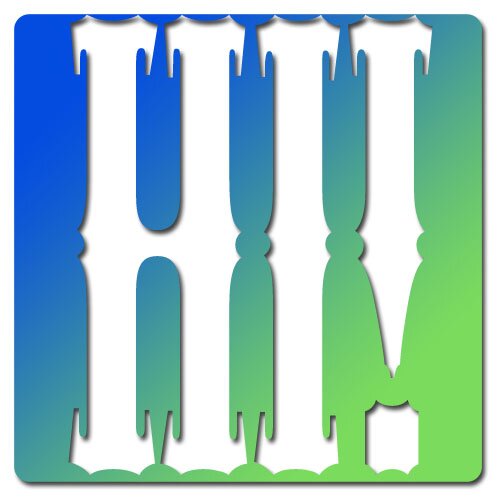
You can also use a mix of text and pen tools by merging the layers before making the mask.
To inverse either of the two methods, CTRL + Click the layer icon before making the mask (not after as usual). This will cause the stencil area to be the only area filled - there is no need to use a brush.
Multiple Layers
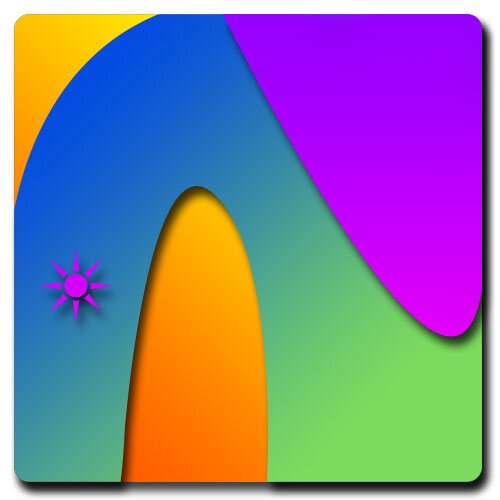
To create multiple layers, first make the bottom layer. Then add to it the next layer, with the cutout section cut out. Add to this the next layer, until you build up a background. To create the main icon or add shapes, inverse the usual text or pictures (as above), to do this,CTRL + Click the layer icon before making the mask (not after as usual). This will cause the stencil area to be the only area filled - there is no need to use a brush.
See you again,
James
P.S. The Bevel and Emboss technique can also be used instead of the drop shadow.
